
Hello everyone,
I just installed an OVMS box on a 2018 Nissan Leaf ZE1 and wanted to share my experience.
Thanks for the support—it was very useful! There are three main steps:
-
Cable making
-
Cable installation
-
OVMS box configuration
I recommend doing these three things on different days.
-
Cable Making
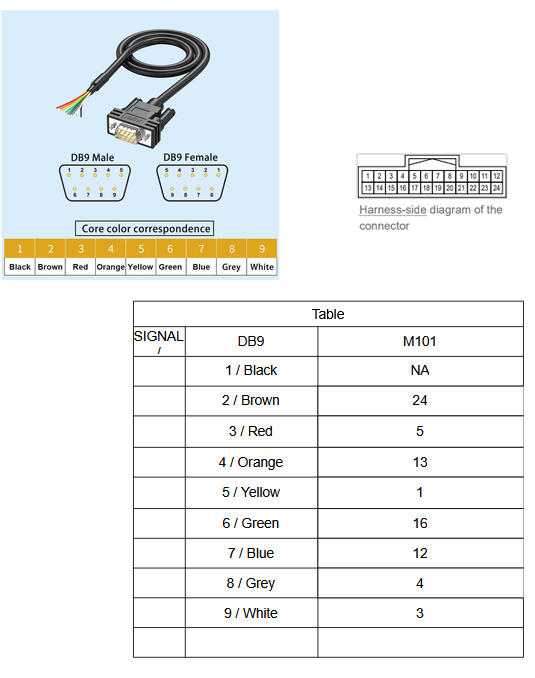
I used this official document to make the custom cable, with some adaptations for a DB9 connector:
I bought variants slightly different from the initial cable proposal:
-
DB9 cable (2 meters): https://fr.aliexpress.com/item/1005006083154220.html?spm=a2g0o.order_list.order_list_main.5.7b135e5bDCAux6&gatewayAdapt=glo2fra
-
CAN bus extender (24 pins): https://fr.aliexpress.com/item/1005006738154651.html?spm=a2g0o.order_list.order_list_main.10.4af15e5bdO1VC3&gatewayAdapt=glo2fra
Here is my wiring scheme using the two cables above:
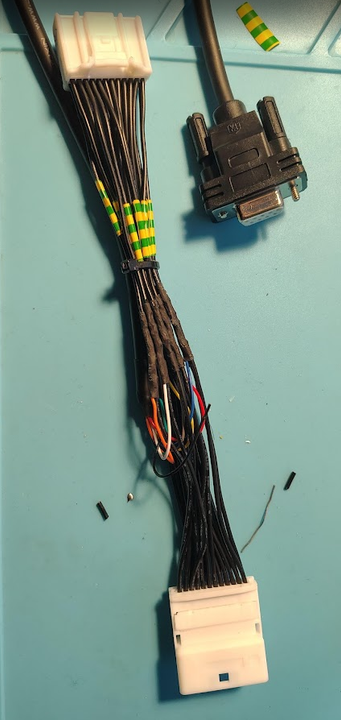
Don’t forget to check your soldering!
-
Cable Installation
You need access behind the instrument cluster and the glove box. Here are two helpful videos:
-
Instrument Cluster Access: https://www.youtube.com/watch?v=gkA1WDu8cq0&si=kII9XvEiAaXgggma
-
Glove Box Access: https://www.youtube.com/watch?v=kyx2A4U-M1M
CAN bus cable installation:
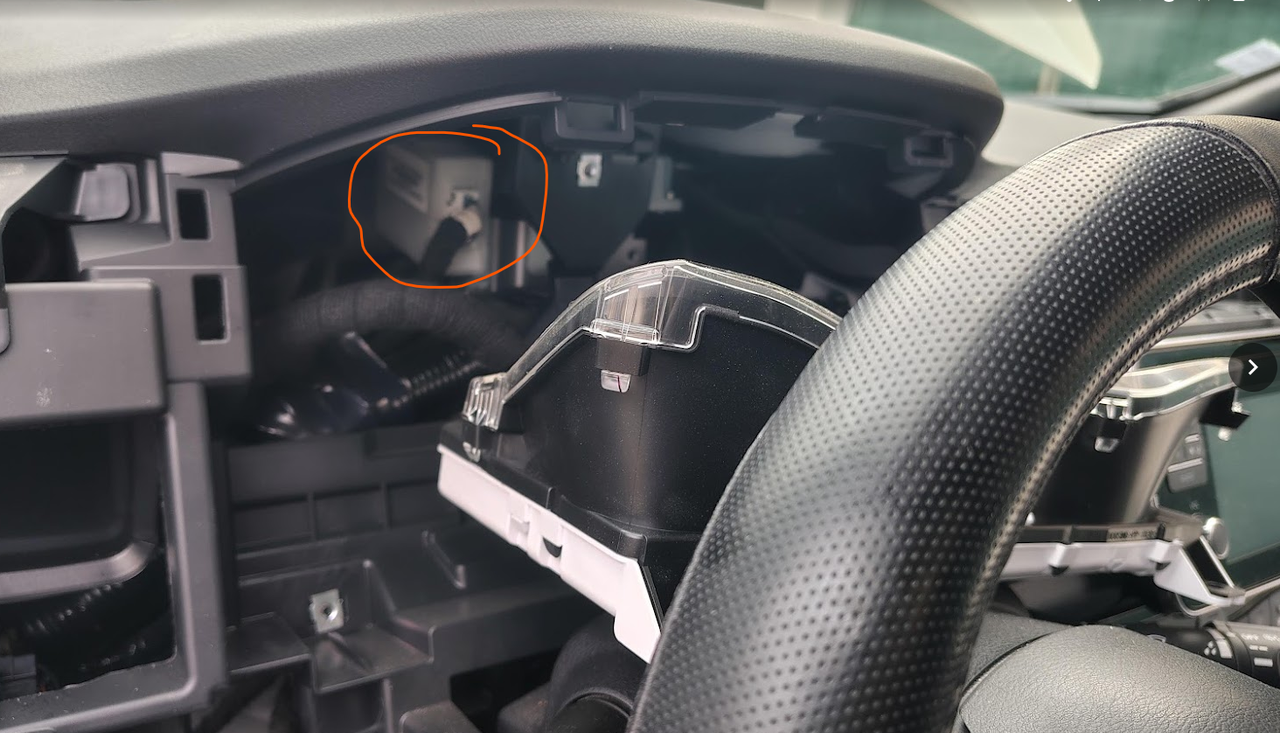
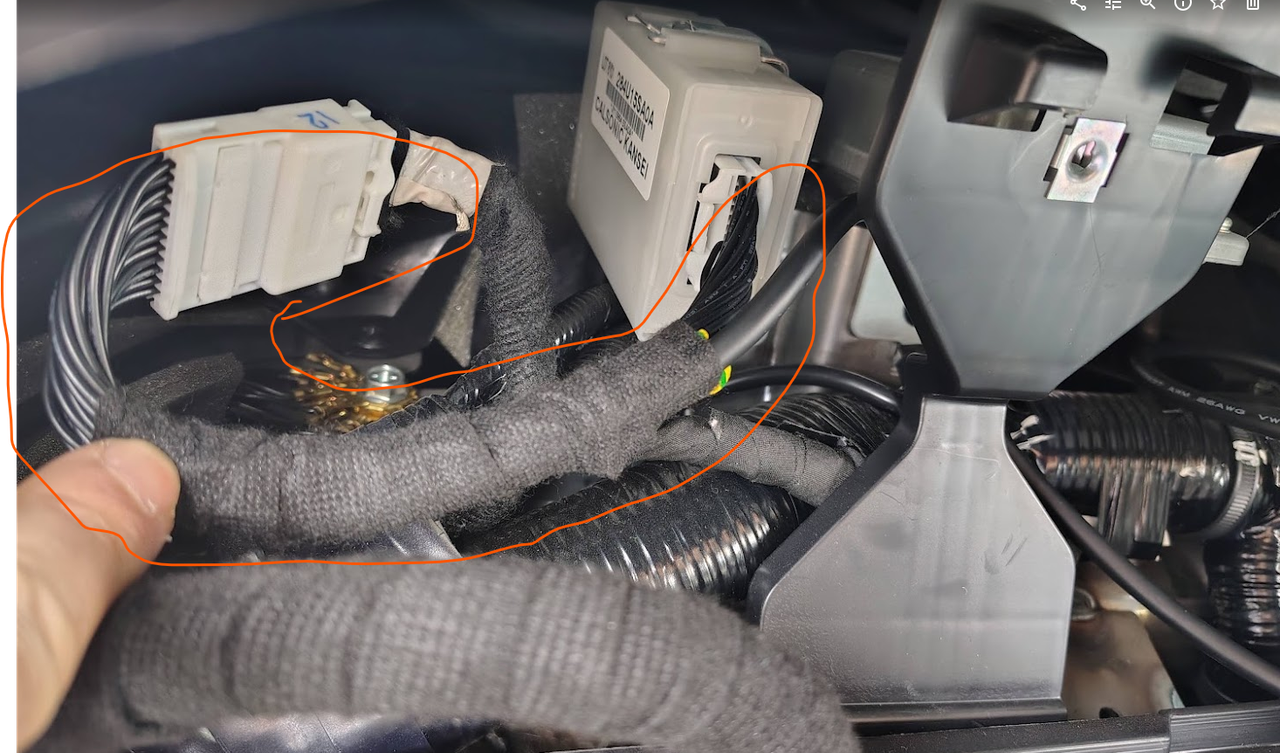
TCU Installation:
After removing the glove box, you need to unscrew the three circled screws to access the TCU.
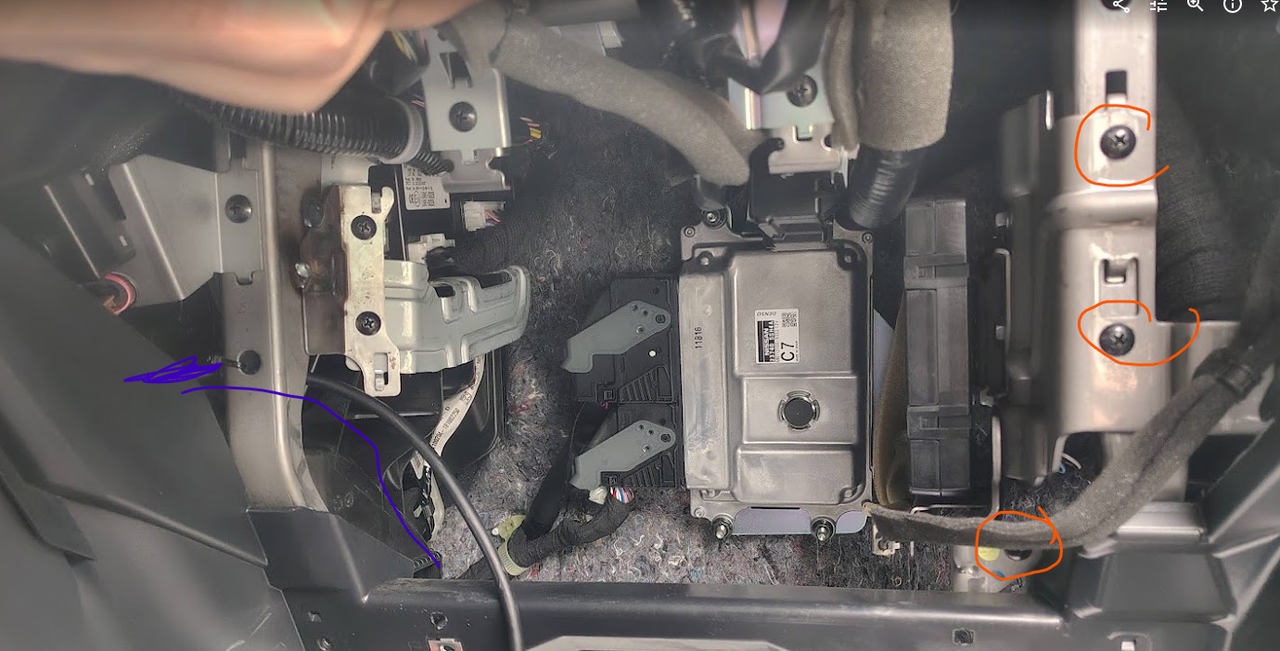
I recommend cutting the wires. Why? If the community finds a solution to clear error messages, it will be with the box connected in-line between the cut wires. Furthermore, removing individual pins is difficult and you can easily break the connector!
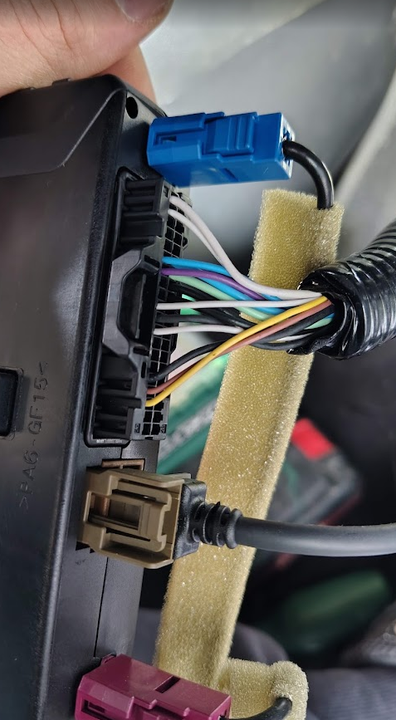
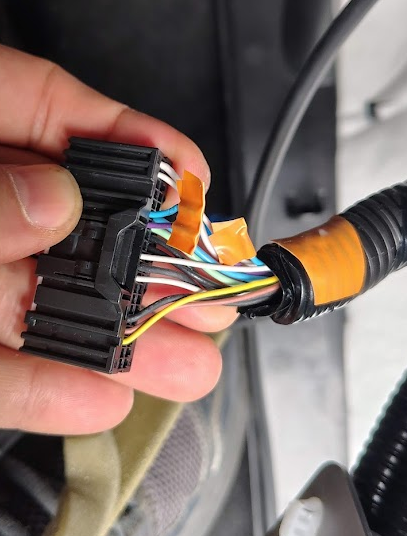
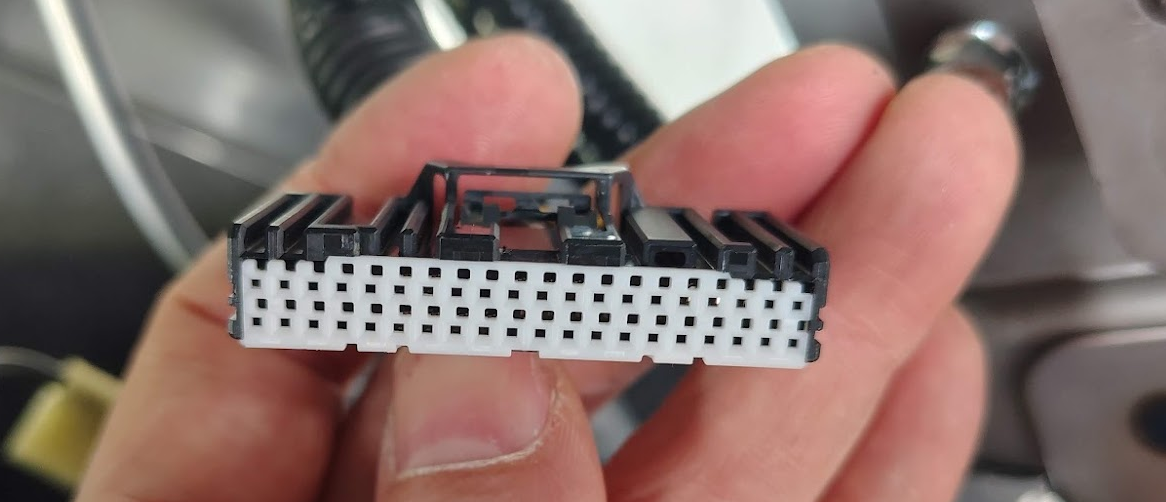
I couldn't find a pre-assembled 40-pin cable (unlike the 24-pin extension cable) to cut the wires into the extension.
If anyone knows the connector's name or can find a site selling an extension cable, please share it!
Where to place the OVMS box?
I decided to place it inside the glove box. You don't need to dismantle the entire dashboard; the cable installation is quite easy.
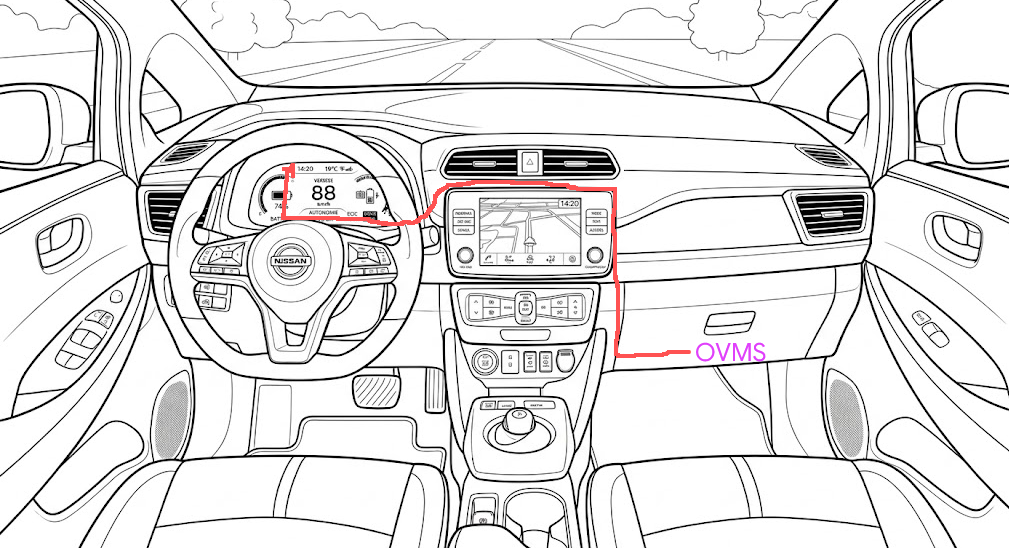
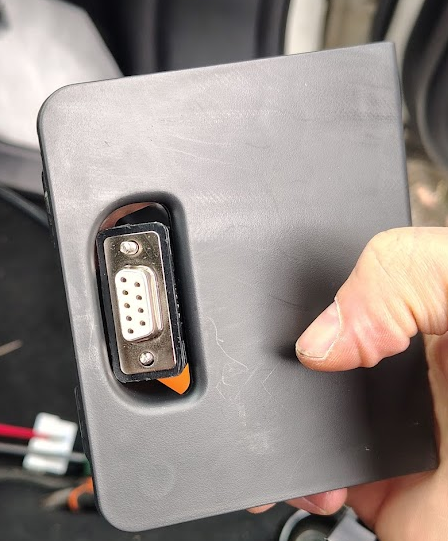
-
OVMS Box Configuration
Before connecting the box or doing the Hologram activation, create an account at https://dexters-web.de. Add your car configuration and keep your login details for later.
I recommend doing the configuration before connecting the OVMS box in the car.
First connect the GPS and GSM antennas, and plug in the micro-USB cable (use a standard phone charger; stable voltage is important).
Once the OVMS box is powered ON, connect your laptop to the OVMS Wi-Fi:
-
Wi-Fi SSID: OVMS
-
Password: OVMSinit
Open your web browser and go to: http://192.168.4.1/
Follow the setup wizard, add your home Wi-Fi, etc.
Once your configuration is done, connect the OVMS box to your car and check that it's working. You can now do your GSM/Hologram activation.
I hope it will help.